Hello, fellow yarn lovers and Disney enthusiasts! Are you ready to dive into a project that’s as wickedly delightful as it is adorable? Today, we’re conjuring up a perfectly plump, deliciously detailed poisoned apple, inspired by all your favorite fairytale villains!
Imagine a rich, ruby-red apple, complete with a little brown stem and a hint of that iconic, slightly sinister swirl. This charming creation is perfect for adding a touch of Disney magic to your home, a unique gift for the Disney lover in your life, or even a fantastic first amigurumi project for the aspiring crocheter. No need to be a sorceress with your needles – this pattern is designed with beginners in mind! We’ll guide you through simple stitches and techniques, so you can confidently crochet your very own fairytale artifact. Get your hooks ready; a touch of villainous charm awaits!
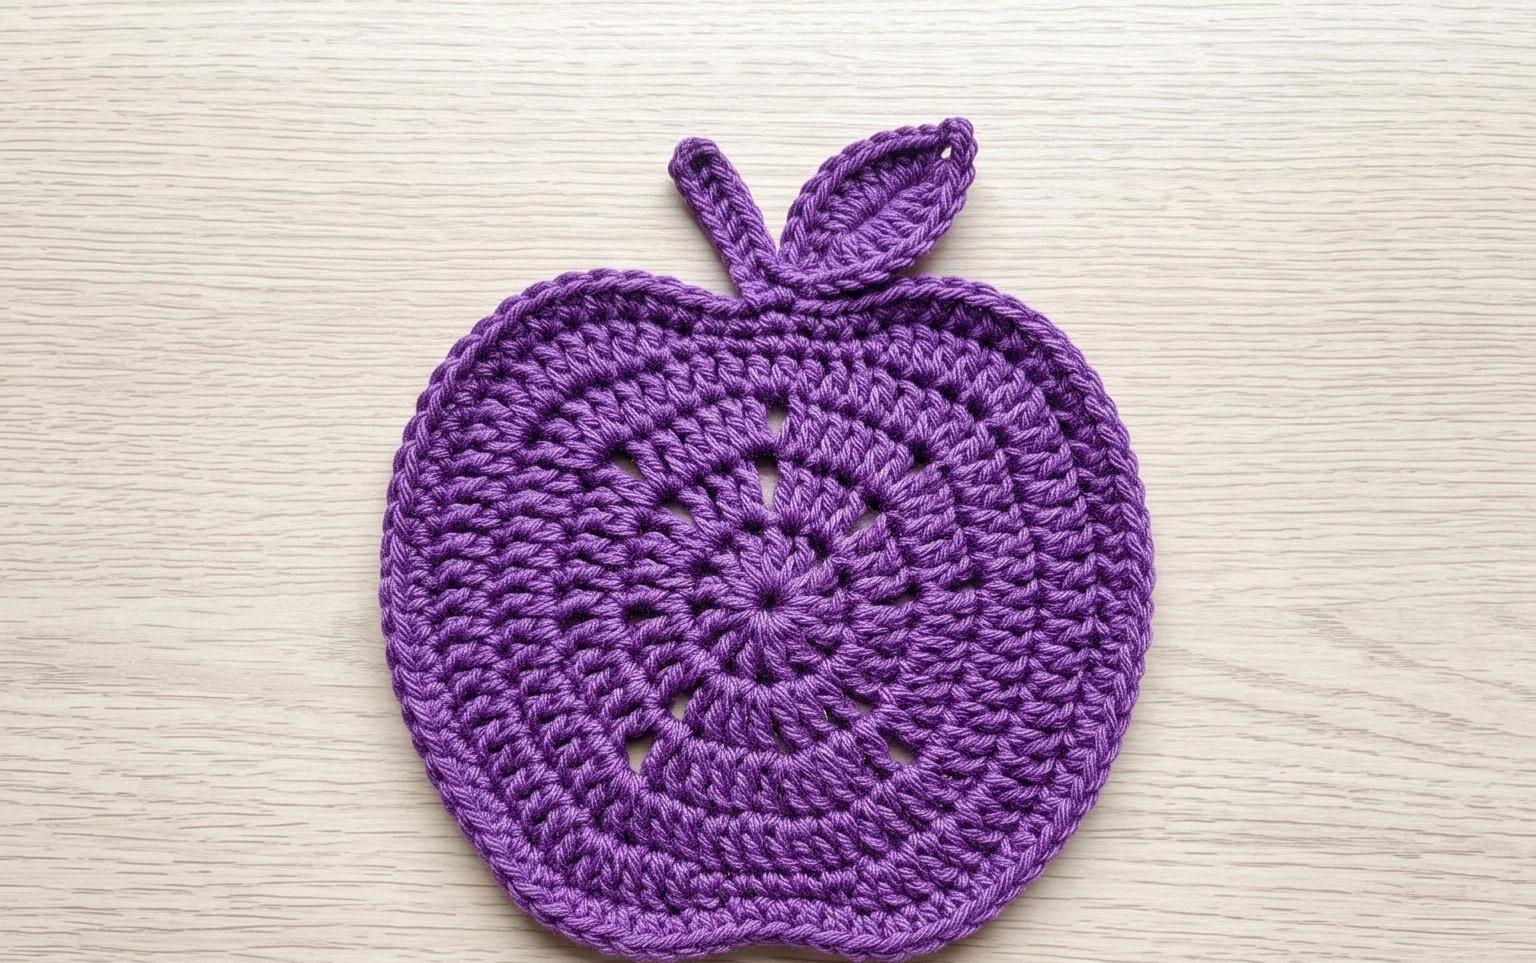
You Can Crochet A Poisoned Apple For The Person Who Loves Disney
For those who find themselves humming along to “Once Upon a Dream” and have a soft spot for the villains who make the fairy tales so deliciously dramatic, a crocheted poisoned apple is the perfect project. It’s a wonderfully quirky and thoughtful gift that acknowledges a love for Disney’s darker, more enchanting side. Whether you’re crafting it for a friend, a family member, or yourself, this little apple is sure to bring a smile – and perhaps a touch of delightful mischief! Let’s dive into how you can bring this iconic symbol of wicked charm to life with your own two hands.
Gathering Your Enchanted Supplies
Before we begin our crafting spell, let’s ensure you have the right tools for the job. Selecting the right yarn and hook is crucial for achieving that perfect, plump apple shape and a satisfying texture.
Yarn Recommendations:
For our poisoned apple, we’ll be working with worsted-weight yarn. This is a widely available and versatile weight that strikes a great balance between creating a defined stitch pattern and having enough drape to form a smooth, round object.
When choosing your yarn, acrylic is a fantastic and budget-friendly option, especially for beginners. It’s durable, washable, and comes in a vast array of colors. If you’re aiming for a more luxurious feel, consider a cotton blend.
Hook Recommendations:
A hook that complements your worsted-weight yarn is key. Generally, a hook in the range of 4.5mm to 5.5mm (G-6 to I-9 in US sizing) is a good starting point. The exact size will depend on your personal tension – how tightly or loosely you crochet. It’s always a good idea to make a small test swatch with your chosen yarn and hook to check the fabric. You want the stitches to be snug enough that the stuffing won’t show through, but not so tight that the fabric becomes stiff.
Mastering the Spellbinding Stitches
This project primarily utilizes a few fundamental crochet stitches that are perfect for creating seamless, amigurumi-style shapes. If you’re new to crochet, don’t worry – this is a wonderful project to build your skills!
A basic understanding of these stitches will have you well on your way to crocheting a beautiful poisoned apple. Many excellent video tutorials are available online that demonstrate each of these techniques clearly, which can be incredibly helpful for visual learners.
Tips for Aspiring Crocheters
Embarking on your first amigurumi project can feel a little daunting, but with a few handy tips, you’ll be crocheting like a seasoned sorcerer in no time!
Remember, patience is a virtue in crochet. Enjoy the process, and celebrate every stitch you make!
Conjuring Custom Creations
The beauty of crochet lies in its adaptability. You can easily personalize your poisoned apple to make it truly unique.
Color Customization:
While the classic poisoned apple is red, the possibilities are endless!
Don’t forget the stem and leaf! You can use contrasting colors for these elements to make them pop, or stick to more natural tones for a classic feel.
Size Modifications:
The pattern can be easily adjusted to create apples of different sizes.
Experimentation is key here! If you’re unsure about sizing, it’s often helpful to find a pattern that uses yarn and a hook similar to what you intend to use and adjust the starting chain or initial rounds accordingly.
Caring for Your Cursed Creation
Once your poisoned apple is complete, you’ll want to ensure it stays looking its best.
By following these simple care instructions, your poisoned apple will remain a cherished item for years to come.
Magical Project Ideas
Your crocheted poisoned apple isn’t just a standalone item; it can be a key component in a variety of enchanting projects.
This crocheted poisoned apple is more than just a craft; it’s a tangible piece of fandom, a conversation starter, and a delightful way to express a love for the stories that have captured our imaginations for generations. So, grab your yarn, pick up your hook, and get ready to crochet a little bit of wicked magic!
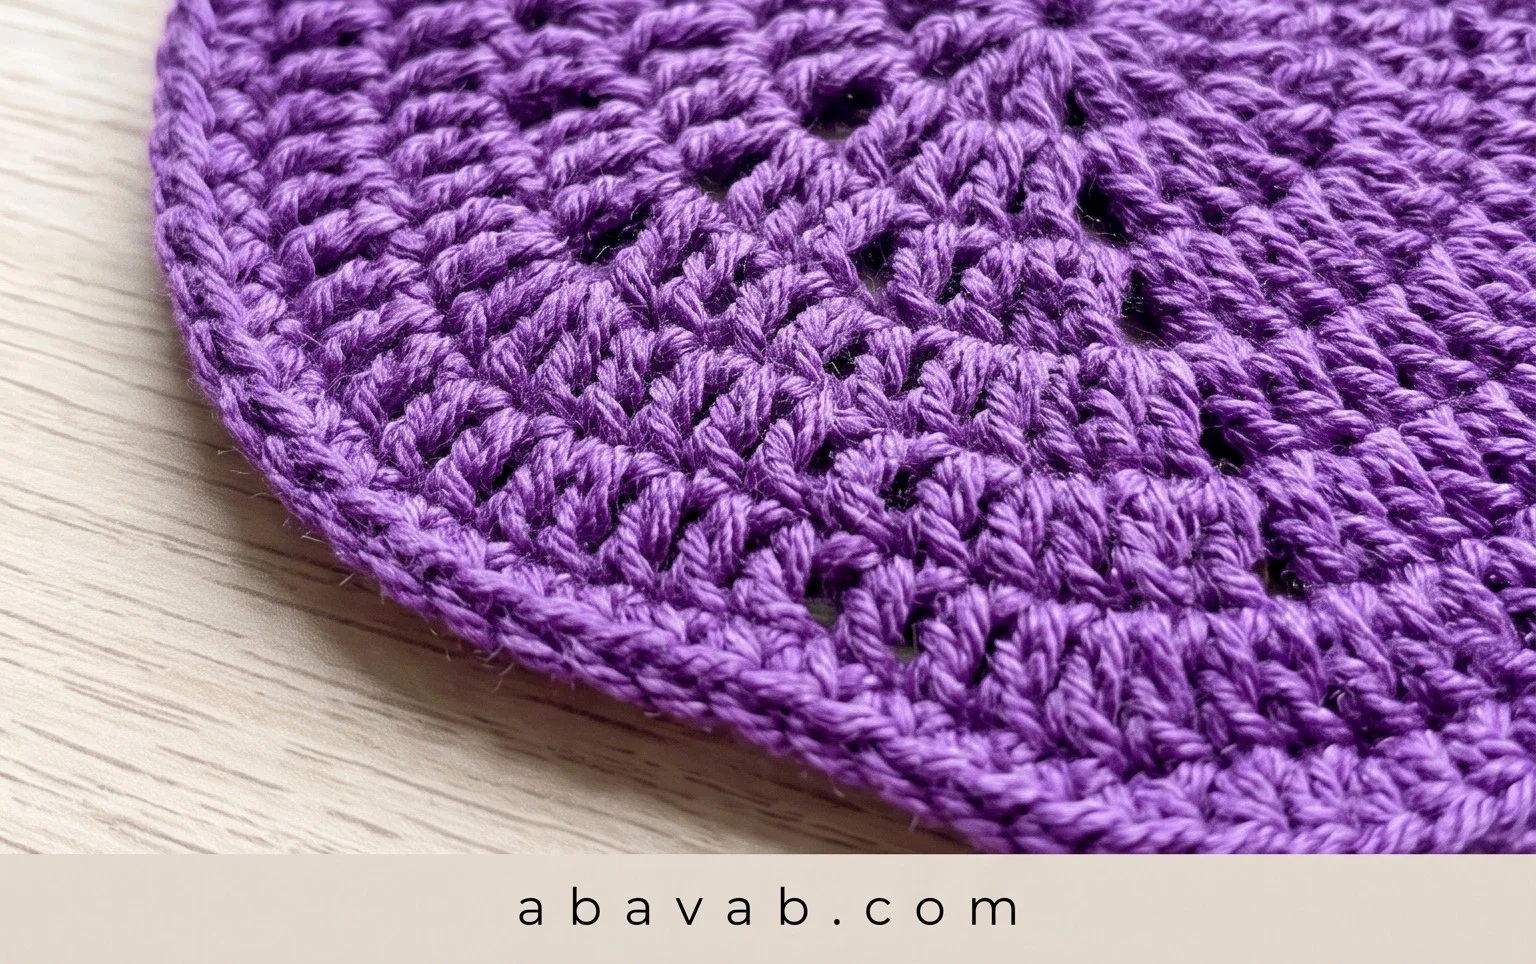
So there you have it – your very own crocheted Poisoned Apple, ready to delight the Disney lover in your life! We hope you’ve enjoyed bringing this iconic, albeit deliciously dangerous, treat to life. Don’t be shy – we’d absolutely adore seeing your finished creations! Share a photo on social media using #CrochetPoisonedApple and tag us so we can marvel at your handiwork.
Feel free to get creative! Imagine different shades of red, or perhaps a glittery yarn for extra sparkle. And when you’re ready for your next adventure, be sure to explore our other crochet patterns. Happy stitching!